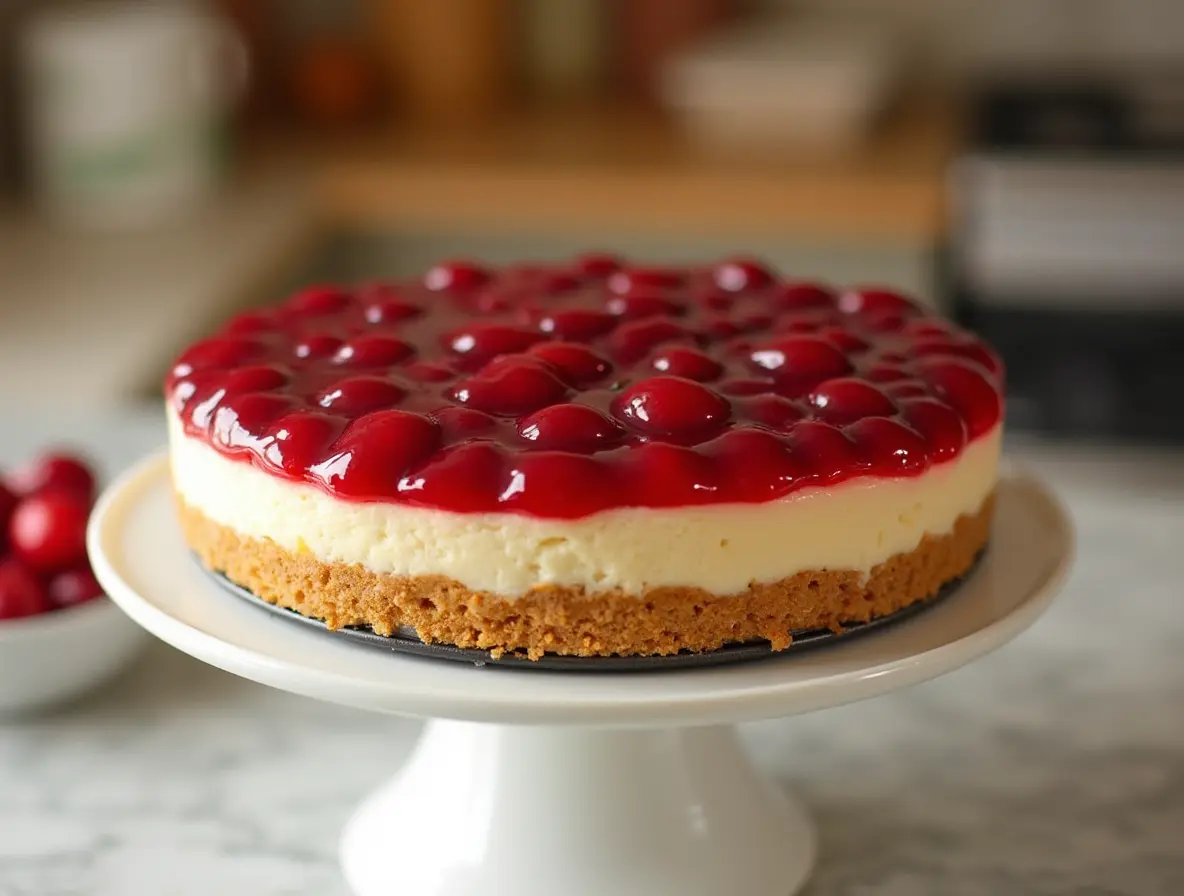
Irresistible No Bake Cherry Cheesecake: Your Quick & Easy Dessert Fix
Key Takeaways: Irresistible No Bake Cherry Cheesecake at a Glance
- Time: under an hour of hands-on work.
- Level: Easy — Beginner-friendly (no-bake) or intermediate (baked).
- Key technique: Let the cream cheese sit at room temperature 90 minutes and mix on low after adding eggs — that’s how you avoid cracks.
- Best for: Make-ahead entertaining — the flavor develops overnight in the fridge.
When life gets hectic, and you need a dessert that wows without the work, No Bake Cherry Cheesecake is the answer. It’s a dessert that feels indulgent yet requires minimal effort, making it the perfect choice for both novice cooks and experienced bakers. Whether it’s a holiday gathering, a birthday celebration, or just a sweet treat for yourself, this cheesecake guarantees smiles. Let’s dive into the step-by-step process to create this creamy, tangy masterpiece.
Table of Contents
Why No Bake Cherry Cheesecake is a Game-Changer
Imagine a dessert that doesn’t demand hours in the kitchen or precise baking skills. This No Bake Cherry Cheesecake is a lifesaver for:
- Busy schedules: Whip it up in under 30 minutes and let the fridge do the rest.
- Impressing guests: It looks stunning with its vibrant cherry topping.
- Versatility: Swap toppings or customize the crust to fit your preferences.
- Simple prep: With no oven involved, it’s perfect for hot days or when you’re short on time.
It’s the ultimate dessert hack for anyone craving something sweet yet effortlessly elegant.
The Essential Ingredients for the Ideal No-Bake Cherry Cheesecake
Before you start, gather your ingredients. This ensures a smooth cooking experience and perfect results every time.
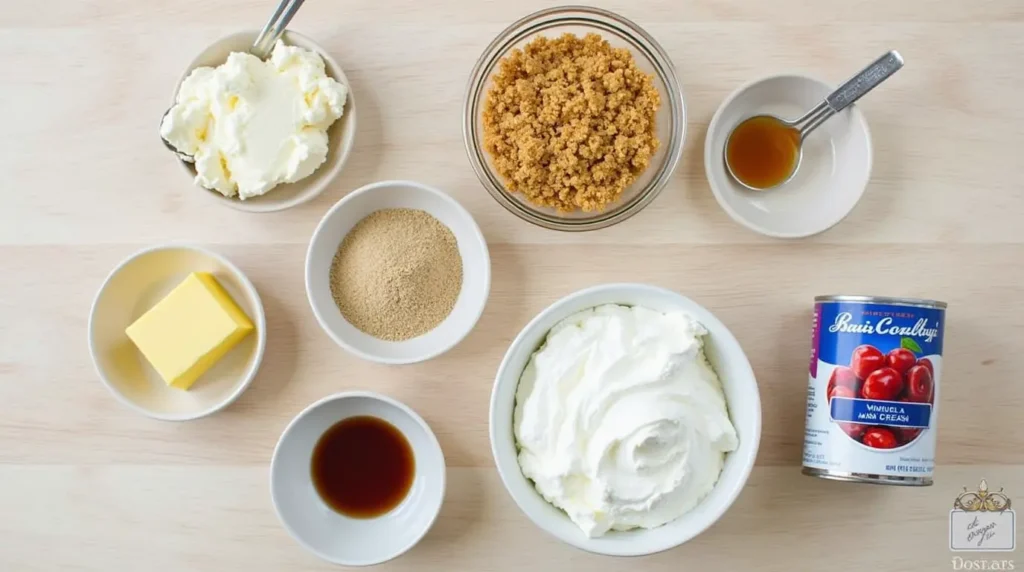
| Ingredient | Quantity | Notes |
|---|---|---|
| Cream Cheese | 2 packages (16 oz) | Room temperature |
| Graham Cracker Crumbs | 1 ½ cups | Or use a pre-made crust |
| Unsalted Butter | ½ cup (melted) | Binds the crust |
| Granulated Sugar | ½ cup | Sweetens the filling |
| Vanilla Extract | 1 tsp | Enhances flavor |
| Whipped Cream | 2 cups | Adds a light, airy texture |
| Cherry Pie Filling | 1 can (21 oz) | Fresh cherries work too |
How to Make No Bake Cherry Cheesecake: Step-by-Step Guide
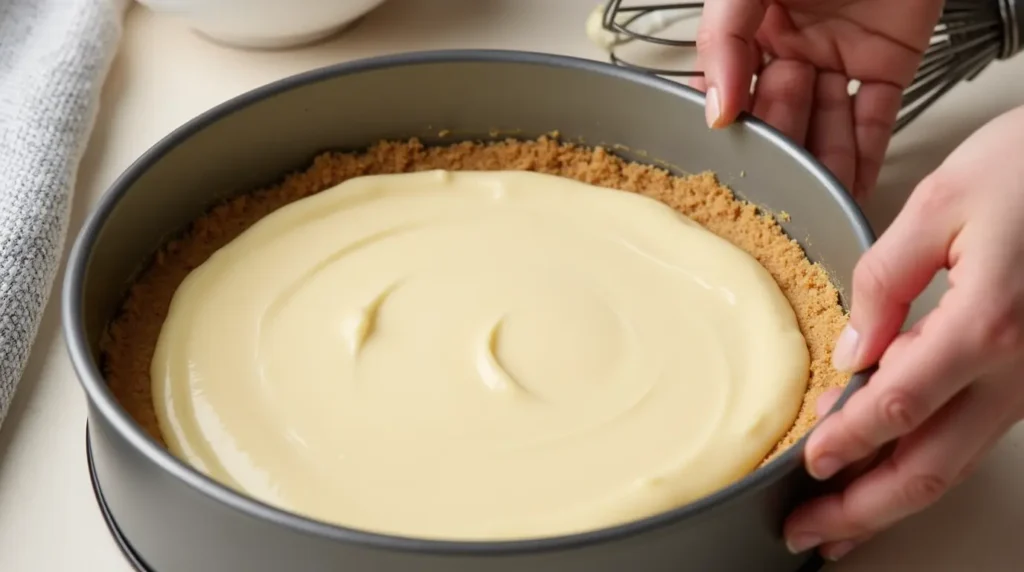
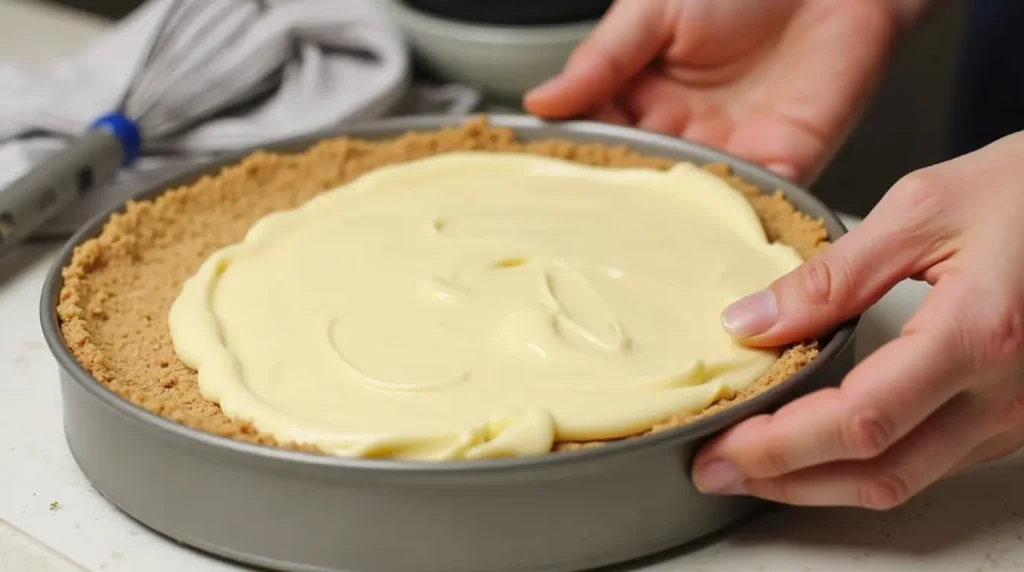
1. Prepare the Crust
The crust forms the foundation of your cheesecake, and getting it right ensures the perfect texture and flavor.
- Put the sugar, melted butter, and graham cracker crumbs in a bowl. Mix until the crumbs resemble wet sand.
- Press the mixture firmly into a springform pan’s base. For a uniform layer, use a glass with a flat bottom.
- To set, refrigerate the crust for 15 to 20 minutes. This step prevents the crust from crumbling when you add the filling.
2. Whip Up the Creamy Filling
This is where the magic happens. The filling should be smooth, creamy, and slightly tangy.
- Beat the cream cheese and sugar together using a hand mixer or stand mixer until the mixture is silky.
- Stir in vanilla essence and stir until combined.
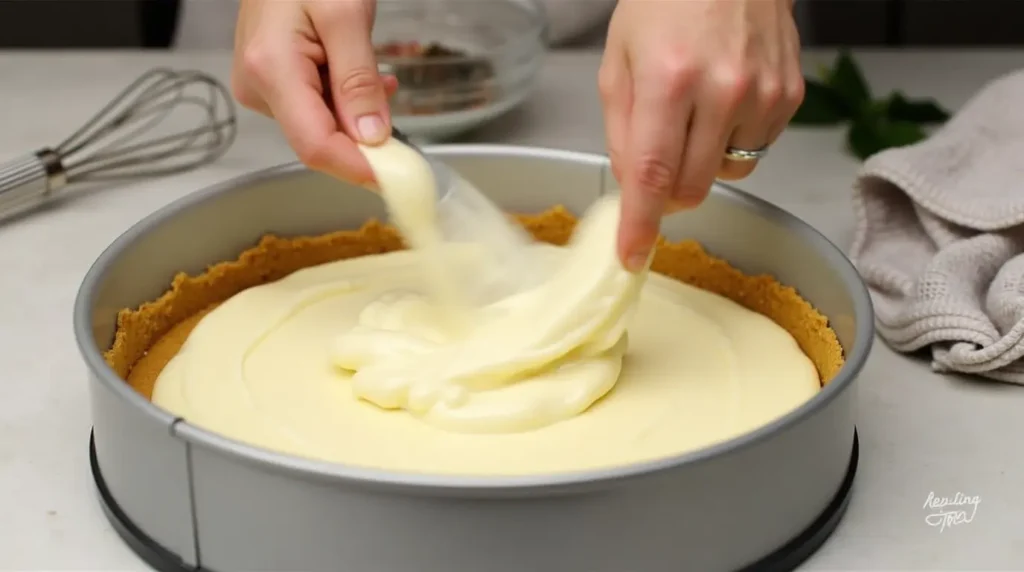
- Fold in the whipped cream gently using a spatula. This keeps the filling light and fluffy, giving your cheesecake its signature texture.
3. Assemble the Cheesecake
Now is the exciting part: assembling everything.
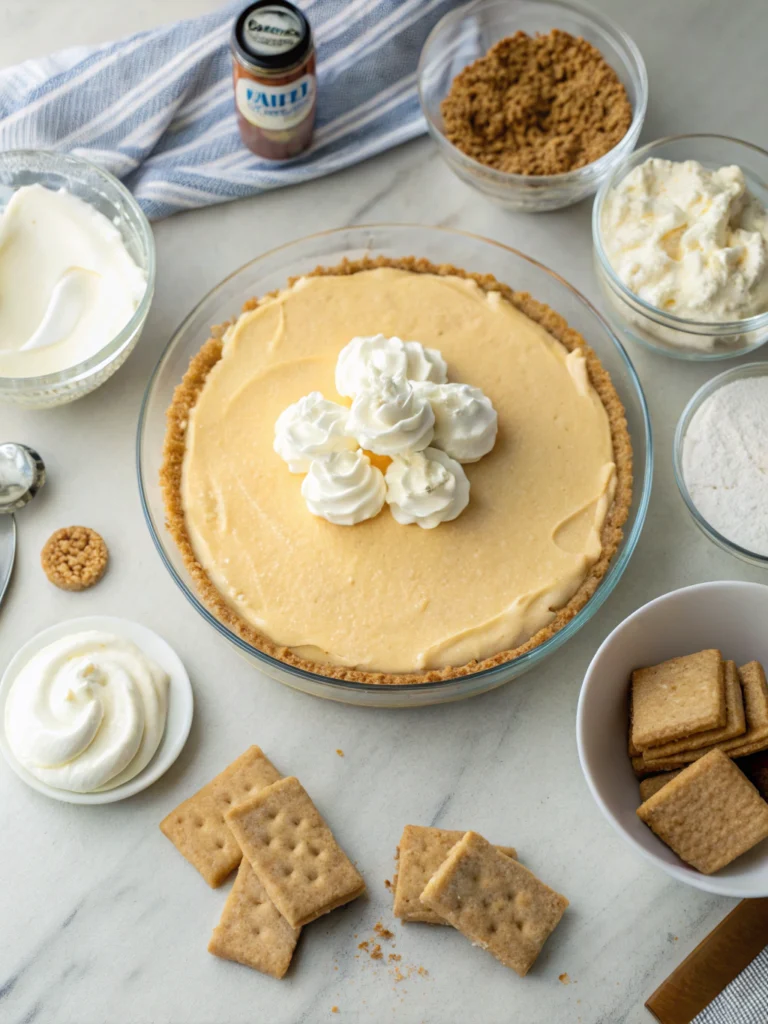
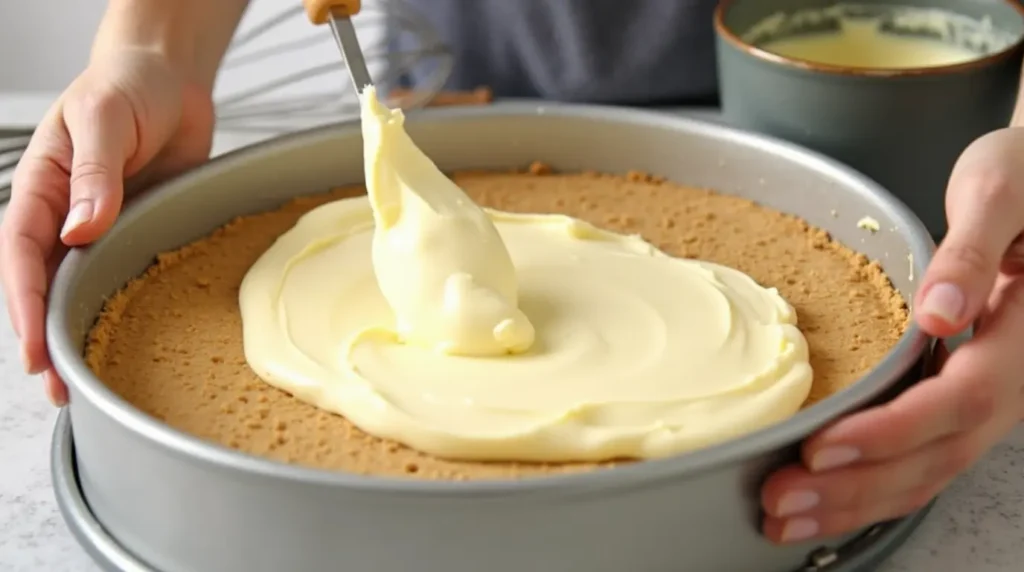
- Cover the cold crust with the cream cheese mixture using a spoon. Spread it evenly with a spatula, smoothing the top for a polished look.
- Ensure the filling reaches the edges to create a seamless layer when sliced.
4. Top It Off with Cherries
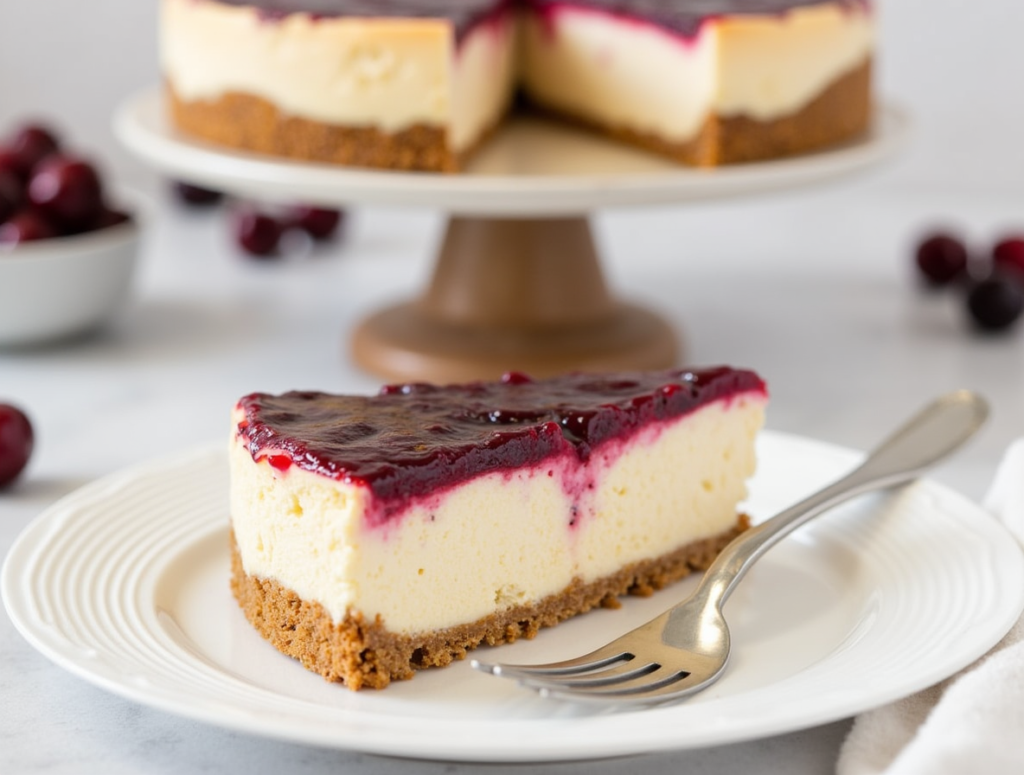
The cherry topping is the star of the show, providing sweetness and a pop of color.
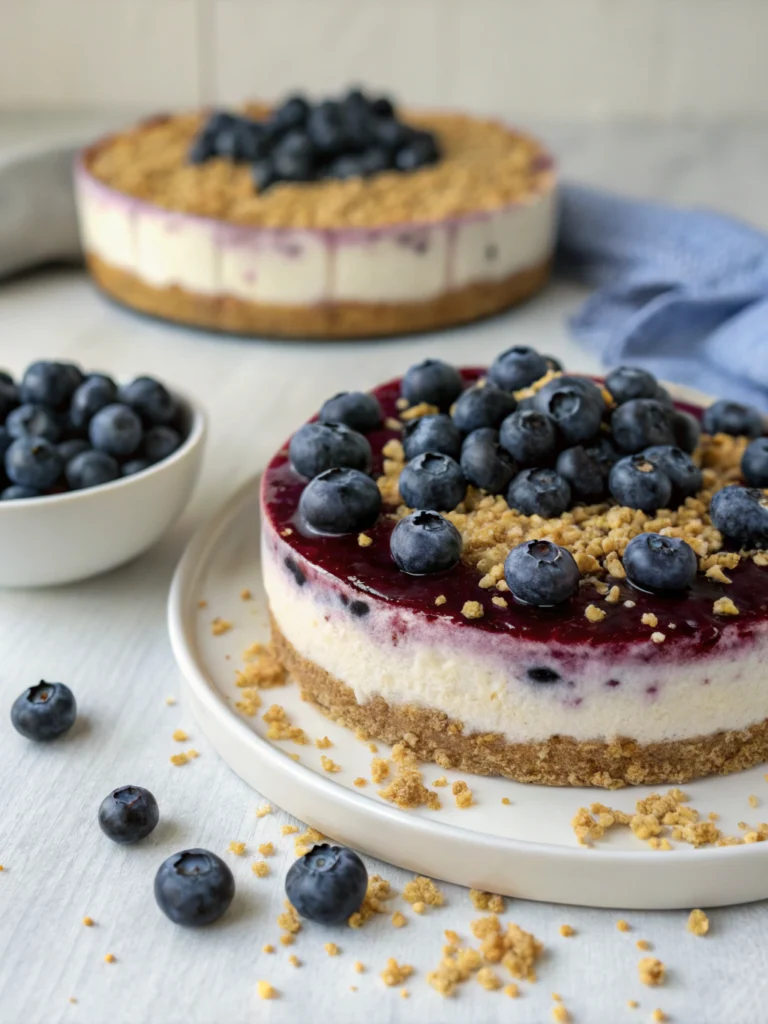
- Open the cherry pie filling and gently spoon it over the cheesecake.
- Spread the cherries evenly, ensuring each slice gets a generous helping.
5. Chill and Serve
Patience is key here!
- Refrigerate the cheesecake for a minimum of 4 to 6 hours after covering it with foil or plastic wrap. Allow it to cool overnight for optimal effects.
- Carefully remove the cheesecake from the springform pan when it’s time to serve. Slice with a sharp knife (clean it between cuts for neat slices).
Tips & Tricks for the Best No Bake Cherry Cheesecake
To elevate your dessert game, keep these handy tips in mind:
- Full-fat cream cheese ensures the filling is rich and decadent. Low-fat alternatives might compromise the texture.
- For a firmer crust, consider baking it at 350°F for 8–10 minutes before chilling.
- Don’t limit yourself to cherries—experiment with strawberry, blueberry, or even chocolate toppings.
- Individual portions in mason jars are perfect for parties and easy to serve.
Nutritional Information
Here’s a quick look at the nutritional breakdown for one slice of cheesecake (based on an 8-slice serving size):
| Serving Size | Calories | Fat | Carbs | Protein |
|---|---|---|---|---|
| 1 slice | 320 | 20g | 30g | 5g |
Frequently Asked Questions (FAQs) About No Bake Cherry Cheesecake
1. Is it possible to prepare this dish in advance?
Absolutely! In fact, making it a day in advance allows the flavors to meld beautifully.
2. Can I freeze No Bake Cherry Cheesecake?
Yes, this cheesecake freezes well. Store it for up to a month in an airtight container after wrapping it securely with plastic wrap. Before serving, let it thaw in the fridge.
3. What if I don’t have a springform pan?
No problem! Use a pie dish or make mini cheesecakes in ramekins or jars for an equally impressive presentation.
4. How do I make this recipe gluten-free?
Swap the graham cracker crumbs for gluten-free alternatives. Many brands offer gluten-free cookie crumbs that work just as well.
Conclusion: The Sweet Finale
Few desserts strike the perfect balance between effort and elegance, but this No Bake Cherry Cheesecake does just that. Its creamy filling, crunchy crust, and luscious cherry topping make it an instant favorite. Whether you’re hosting a dinner party or simply treating yourself, this cheesecake delivers every time.
So why wait? Grab your ingredients, follow this easy recipe, and enjoy the satisfaction of serving up a dessert that everyone will remember. Share your success story in the comments below—we’d love to hear how your cheesecake turned out!
And if you’re looking for more quick and easy dessert ideas, don’t forget to explore our other recipes!!
Frequently Asked Questions About Irresistible No Bake Cherry Cheesecake
How long does Irresistible No Bake Cherry Cheesecake take to make?
Times vary by batch size, but the Timing section for Irresistible No Bake Cherry Cheesecake above breaks down prep, cook, and total time step-by-step.
Can I make Irresistible No Bake Cherry Cheesecake ahead of time?
Yes — cheesecake is actually better on day two. Make it the day before serving, chill overnight, and the flavor and texture will be at their peak. That’s the make-ahead advantage over most cakes.
How should I store Irresistible No Bake Cherry Cheesecake?
Refrigerate covered up to 5 days. For longer storage, freeze whole or in slices (wrapped tightly) for up to 3 months. Thaw sliced pieces overnight in the fridge for clean edges.
Why did my Irresistible No Bake Cherry Cheesecake crack on top?
Cracks come from over-mixing after eggs (too much air), over-baking (the center should still jiggle slightly), or cooling too fast. A water bath and a gradual oven cool-down solve most crack problems.
What’s the best way to serve Irresistible No Bake Cherry Cheesecake?
Slice with a hot dry knife (dip in hot water, wipe, cut) for clean edges. Serve chilled with a small pour of berry compote, fruit sauce, or salted caramel — a plain cheesecake benefits from one bright contrast.
Related Recipes You’ll Love
Hand-picked from our kitchen — recipes you’ll want to bake next: